Measure 3D Printer Ringing & Resonance With a Phone

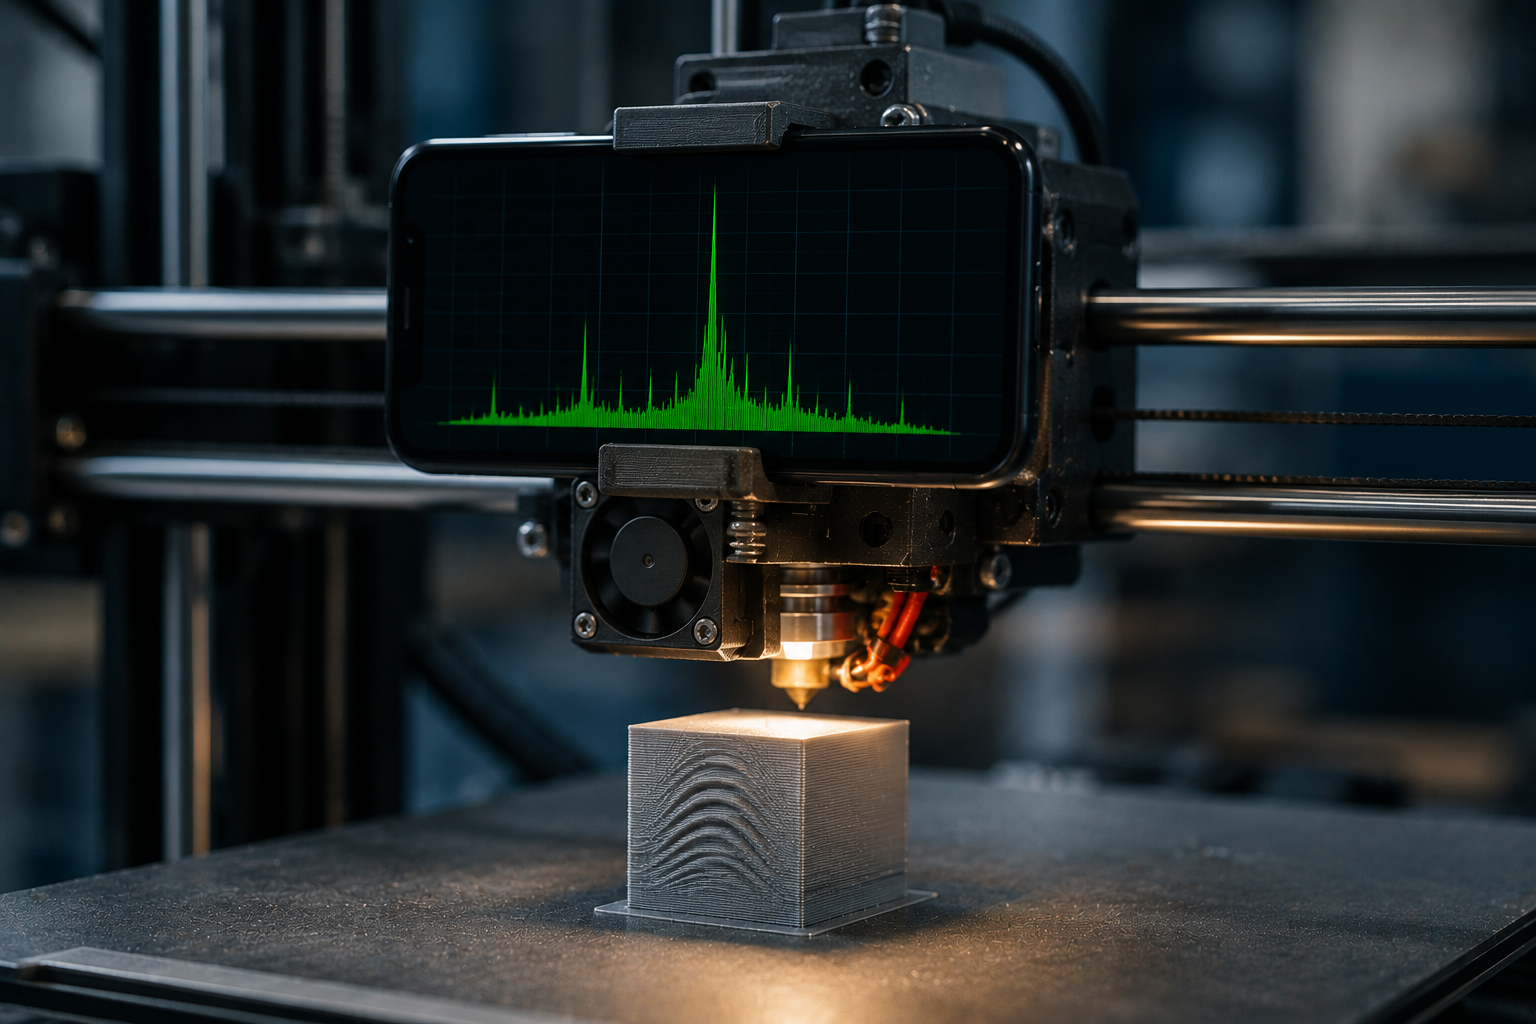
How to Measure 3D Printer Ringing & Resonance (With Your Phone)
Those faint repeating echoes that appear after every sharp corner on your prints — ringing, also called ghosting — are caused by your printer’s frame and toolhead resonating as they change direction. The fix is input shaping, but input shaping only works if you know your printer’s resonant frequency. The good news: you can measure that frequency two ways without buying dedicated hardware, including with the accelerometer already in your phone.
This guide shows both methods, the typical frequencies to expect, and an honest comparison of a phone versus the classic ADXL345 sensor. To measure your printer’s vibration directly, the free Vibration Detector Sensor app reads live frequency from your phone’s accelerometer.
Find your printer’s resonant frequency
Mount your phone on the toolhead, jog the axis, and read the dominant frequency — the number input shaping needs. No soldering, no extra parts.
What is ringing (ghosting), and what causes it?
Ringing is the rippled, echoed pattern that shows up on print walls just after a sharp feature, like the trailing image after the letters on a calibration cube. It happens because when the toolhead suddenly changes direction, the whole motion system — frame, gantry, belts and toolhead mass — flexes and oscillates at its natural frequency, and the nozzle traces that oscillation into the plastic.
The usual culprits are high print and travel accelerations, loose belts, a flexible frame, and a heavy toolhead. Loose belts and worn bearings also shift the resonant frequency, which is why you should re-measure after any mechanical change. A quick check of your printer’s vibration with the accelerometer tool can reveal a sloppy belt before it ruins a print.
Why measuring the resonant frequency matters
Input shaping — built into Klipper and into Marlin 2.1 and later — cancels ringing by anticipating the oscillation and counter-shaping the motion commands. But it has to be tuned to your printer’s frequency. Copying someone else’s shaper values is the classic mistake: a tight-belt CoreXY machine might resonate near 65 Hz while a stock bed-slinger sits around 40 Hz, and the wrong value makes ghosting worse, not better. So the whole job comes down to measuring one or two numbers accurately, and you can start with the sensor app.
Method 1: Measure from a ringing tower print
This method needs no electronics at all — just a printed test and a caliper. Print a ringing/ghosting test tower at a known speed, then measure the spacing between the ripple lines that appear after a corner. The frequency follows a simple formula:
Ringing frequency (Hz) = print speed (mm/s) ÷ distance between ripples (mm)
Example: at 100 mm/s with ripples 2 mm apart, the resonance is 100 ÷ 2 = 50 Hz.
It is approximate (roughly ±5 Hz) but completely accessible, and it works at any frequency. Use it as a sanity check against whatever your vibration meter reports.
Method 2: Measure toolhead vibration with your phone
Your phone’s accelerometer can measure the resonance directly. Strap or clip the phone firmly to the toolhead (rigid attachment is essential — any flex creates false readings), open the app, and jog the relevant axis back and forth or run a short resonance movement. The dominant frequency the app reports is your resonant frequency for that axis. Repeat for X and Y, since they usually differ.
One honest limit to know: a phone samples at up to 100 Hz, so it reliably resolves frequencies up to about 50 Hz. That covers the lower half of the typical printer range — including many bed-slingers and Y axes — but tight, stiff machines resonating above 50 Hz sit beyond a phone’s reach. Within that band, though, the Vibration Detector Sensor app gives you a real, free measurement.
Typical 3D printer resonance frequencies
| Printer / setup | Typical resonance | In phone range? |
|---|---|---|
| Bed-slinger Y axis (e.g. Ender 3, stock) | ~35–40 Hz | Yes |
| Bed-slinger X axis | ~45–55 Hz | Borderline |
| CoreXY, tight belts (e.g. Voron) | ~55–70 Hz | No (use ADXL345) |
| General desktop range | 30–80 Hz | Lower half only |
Phone vs. ADXL345: what each is good for
The ADXL345 (and similar sensors) is the gold standard for input-shaper tuning: wired into Klipper, it sweeps a wide frequency range, measures both axes in a couple of minutes to roughly ±1 Hz, and auto-recommends shaper parameters. It costs only a few dollars but requires soldering, wiring and a compatible board. A phone needs none of that and is perfect for a quick, free first measurement, for verifying the ringing-tower result, and for catching mechanical issues like loose belts — as long as your resonance falls within its usable band. For serious tuning above 50 Hz, the dedicated sensor wins; for everything below, the app is the zero-cost option.
Fixing ringing once you know the frequency
With the frequency in hand, enter it into your input shaper config (most printers do well with the MZV shaper at the measured frequency). Then attack the mechanical root causes too: tighten and align your belts, reduce moving mass, stiffen a flexible frame, and lower acceleration if needed. After any of those changes, re-measure — the resonance will have shifted — and the sensor app makes that re-check a 30-second job.
✓ Pro tip: Input shaping cancels the symptom, but loose belts produce resonance that even the best shaper can’t fully cancel. Fix the mechanics first, then shape what remains — you’ll get cleaner prints and a more stable resonance number.
Measure your printer’s resonance free
Live dominant-frequency readout, RMS & peak, and session logging — use your phone to find your resonant frequency and chase down belt and frame issues.
► Get Vibration Detector Sensor on the App Store | Explore the app →
Note: A phone accelerometer reliably resolves frequencies up to about 50 Hz. For input-shaper tuning above that range, or for automated Klipper auto-tuning, a dedicated accelerometer such as the ADXL345 is the appropriate tool.
Frequently Asked Questions
What causes ringing or ghosting on 3D prints?
Ringing is caused by the printer’s motion system oscillating at its natural frequency when the toolhead changes direction quickly. High acceleration, loose belts, a flexible frame and a heavy toolhead all make it worse, and the nozzle traces the resulting vibration onto the print surface as repeating echoes.
How do I measure my 3D printer’s resonance frequency?
Two ways: print a ringing tower and divide the print speed by the ripple spacing, or mount an accelerometer (a phone or an ADXL345) on the toolhead and read the dominant frequency while jogging the axis. Measure X and Y separately, as they usually resonate at different frequencies.
Can I use my phone instead of an ADXL345 for input shaping?
For resonances below about 50 Hz, yes — a phone can measure the dominant frequency directly and works well for many bed-slingers. For higher frequencies or for Klipper’s automated auto-tuning, the ADXL345 is more accurate and integrated. A phone is ideal as a free first measurement and for verifying ringing-tower results.
What is a typical 3D printer resonance frequency?
Most desktop printers resonate between 30 and 80 Hz, with X and Y axes differing. Stock bed-slingers often sit around 35–55 Hz, while stiff CoreXY machines with tight belts can reach 55–70 Hz. Always measure your own printer rather than copying values.
How do I calculate ringing frequency from a print?
Use the formula: ringing frequency in Hz equals the print speed in mm/s divided by the distance between ripples in mm. For example, printing at 100 mm/s with ripples 2 mm apart gives a resonance of 50 Hz. The method is approximate but needs no hardware.
Does input shaping actually fix ringing?
Yes, when tuned to your printer’s measured frequency it dramatically reduces ringing and lets you print faster with cleaner corners. It works best alongside good mechanics, though — loose belts create resonance that input shaping alone cannot fully cancel, so tighten and align first.
3d printer ringing measure3d printer resonance frequencymeasure ghosting input shapingphone accelerometer input shaperringing frequency calculation3d printer ghosting fixadxl345 alternative phoneklipper resonance phone