Matching Mixed Lighting Color Temperature on Set

Matching Mixed Lighting Color Temperature on Set
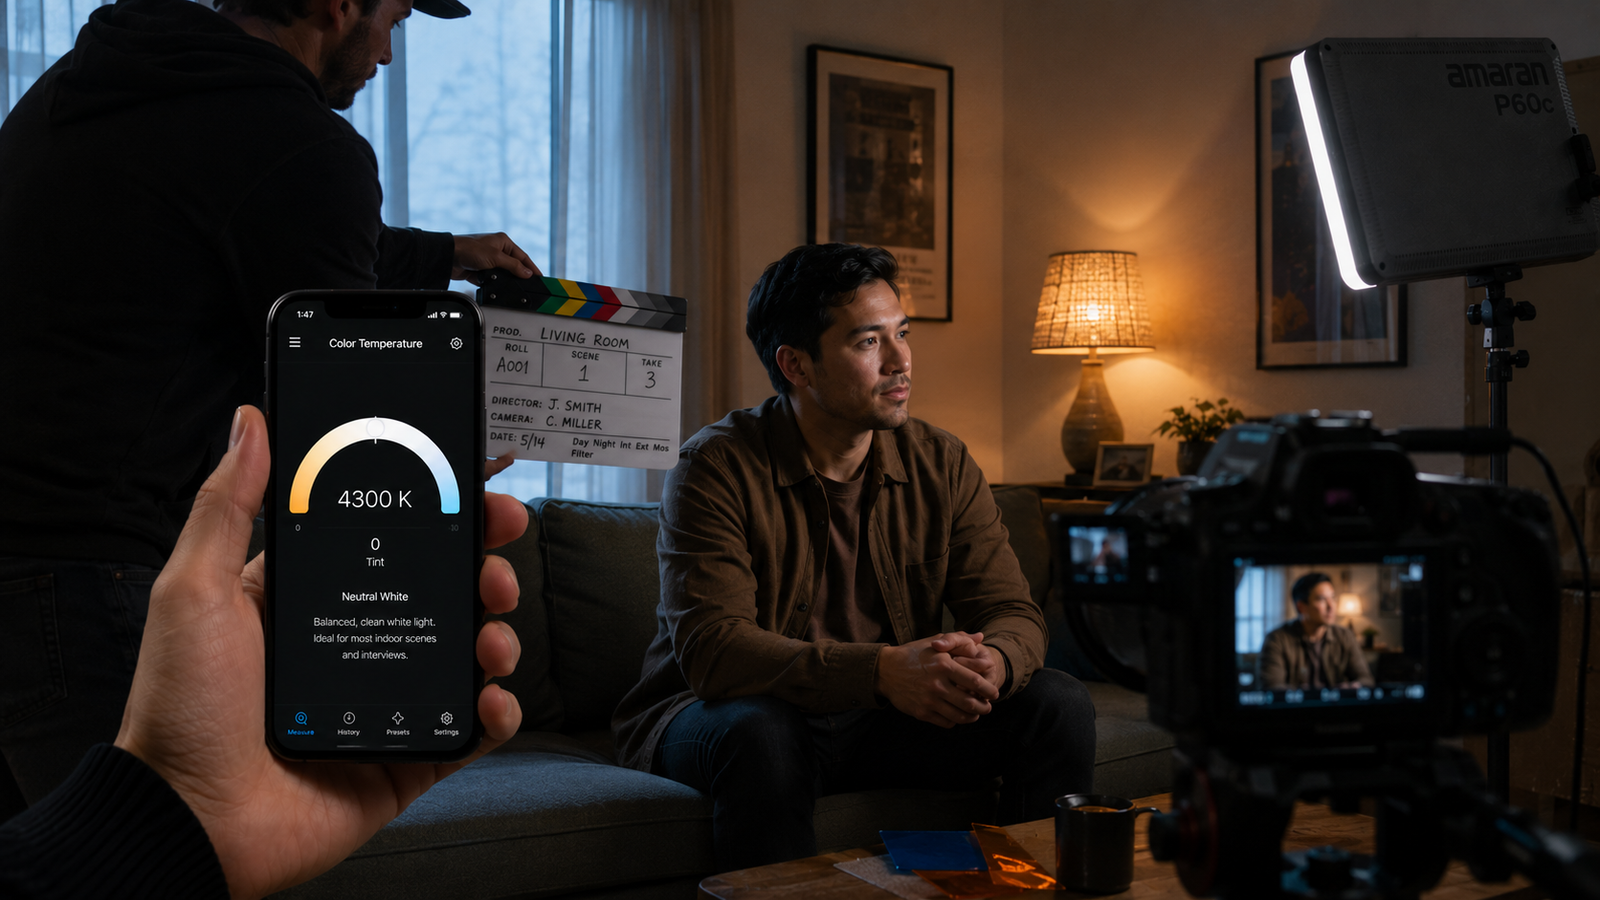
Mixed lighting is the problem every shooter eventually faces: a window pouring in cool daylight, a warm practical lamp in the background, and your own fixtures somewhere in between — all in one frame, all fighting each other. White balance can only neutralize one of them, so the others leave a cast. The fix isn't a single setting; it's a workflow of measuring every source, choosing one to anchor to, and correcting the rest to match.
This guide walks through diagnosing mixed light, deciding which temperature to balance for, and bringing the stragglers into line with gels and adjustments. The whole process starts with knowing each source's actual color temperature, which you can measure with your phone.
📲 Measure every source first
Kelvin Light Scale reads the color temperature and tint of each light in your scene, so you know exactly how far apart your sources are before you start correcting.
Why mixed lighting is a problem
A camera applies one white balance to the whole frame. If your scene contains a 5,600K window and a 2,800K lamp, balancing for the window leaves the lamp glowing orange; balancing for the lamp turns the window blue. Neither is wrong, but the mismatch reads as “something's off” — uneven skin tones, a face that's warm on one side and cool on the other, backgrounds that clash with the subject. The only way to control it is to know the numbers, which you can read for each light.
Step 1: Diagnose the scene
Before touching anything, measure every source in the frame — your key and fill, any practical lamps, and daylight from windows. Write down each value. Often you'll discover the spread is wider than it looked: a “warm” room lamp might be 2,700K while the window is 6,000K, more than 3,000K apart. Knowing the exact gap tells you how much correction you'll need and which sources are the outliers. You can measure each one in a few seconds.
Step 2: Choose your anchor temperature
You can't balance for everything, so pick one temperature to build around. Three common strategies:
| Anchor to… | When it works |
|---|---|
| The dominant source | One light clearly rules the scene (e.g. a big window) |
| The subject's key light | Faces matter most; balance for accurate skin |
| Daylight (5,600K) | A strong window you can't move or block |
Whichever you choose becomes the target everything else gets corrected toward. Measuring tells you which source is realistically the anchor, which you can confirm with a reading.
Step 3: Correct the other sources
Now bring the outliers to your anchor. The main tools:
- Gels on your fixtures: CTO (orange) warms a daylight light toward tungsten; CTB (blue) cools a tungsten light toward daylight. Match the gel's shift to the gap you measured.
- Adjustable LED panels: Simply set them to your anchor temperature — the easiest correction when you control the fixture.
- Window gels: Large CTO sheets on a window pull daylight down toward a warm interior so it matches tungsten practicals.
- Swap the bulbs: Replacing a mismatched practical bulb with one at your anchor temperature is often the cleanest fix of all.
After each correction, re-measure to confirm the source now matches your anchor. You can check the result instead of trusting your eye, which adapts and deceives.
💡 Pro tip
Think in mired for gels. A gel's correction is rated as a mired shift, which is additive — so “I need to move from 5,600K to 3,200K” becomes a specific mired difference you can match to a gel. It turns gel selection from trial-and-error into arithmetic.
When you can't match everything
Sometimes you can't correct a source — a distant window, a fixed overhead, a practical that must stay on screen. In those cases you have two honest choices: balance for your subject and accept that the uncorrectable source will be off-color (often acceptable if it's in the background), or lean into the mismatch as a deliberate look, where warm practicals against cool ambient light can feel cinematic. The difference between a mistake and a style choice is whether you did it on purpose — and measuring first means you did. You can document each source so the decision is informed.
Don't forget tint
Color temperature is only the blue–orange axis. Fluorescent tubes and cheaper LEDs often add a green tint that no Kelvin match removes, so two “matched” sources can still clash on the green–magenta axis. Measure tint (Duv) as well, and use minus-green gels or panel tint controls to bring sources fully together. A reading that reports both Kelvin and tint shows you the complete picture, which you can get from the app.
✅ The verdict
Measure every source, pick one temperature to anchor to, and correct the rest with gels, panel settings, or bulb swaps — matching tint as well as Kelvin. When a source can't be corrected, decide deliberately whether to ignore it or make it part of the look.
Mixed lighting stops being chaos the moment you measure it. Once you know where every source sits, choosing an anchor and correcting the rest is a methodical process, not a guess — and your footage comes out clean and intentional. Start by reading your scene; you can measure each light now.
Tame mixed lighting on any set
Kelvin Light Scale reads color temperature, tint, lux, and exposure from your iPhone — measure every source, anchor your scene, and correct with confidence. Free to start, with pro metrics when you want them.
Frequently asked questions
How do you match mixed lighting on set?
Measure every source's color temperature, choose one temperature to anchor the scene to, then correct the other sources to match it using gels, adjustable panel settings, or by swapping bulbs. Re-measure after each correction to confirm the match, and balance tint as well as Kelvin.
What white balance do you use with mixed lighting?
Set white balance to your anchor temperature — the source you've chosen to build the scene around, often the dominant light or the subject's key. The other sources should be corrected toward that value rather than relying on white balance to fix them.
How do I match a tungsten light to daylight from a window?
Either add a CTB (blue) gel to the tungsten light to cool it toward daylight, or set an adjustable panel to about 5,600K. Alternatively, gel the window with CTO to warm the daylight down toward tungsten and keep everything warm.
Should I correct the lights to daylight or daylight to the lights?
It depends on which source dominates and is hardest to change. A large, bright window is usually easier to anchor to (set your fixtures to daylight), while a small window can be gelled down to match warm interior lights. Measure both to decide.
Why do my matched lights still look different colors?
They likely differ in tint, not just color temperature. Fluorescent and some LED sources add a green or magenta cast that a Kelvin match doesn't remove. Measure tint (Duv) and use minus-green gels or panel tint controls to fully align them.
Can mixed lighting ever look good on purpose?
Yes. Deliberate contrast — warm practical lamps against cooler ambient light, for example — can look cinematic. The key is that it's intentional: measure your sources so you're choosing the mismatch rather than being surprised by it.
matching mixed lighting on setmixed lighting color temperaturemixed lighting white balancegel tungsten to daylightCTO CTB gel correctionbalance window and lamp lightmixed lighting videoanchor color temperature