How to Set Custom White Balance From a Kelvin Reading

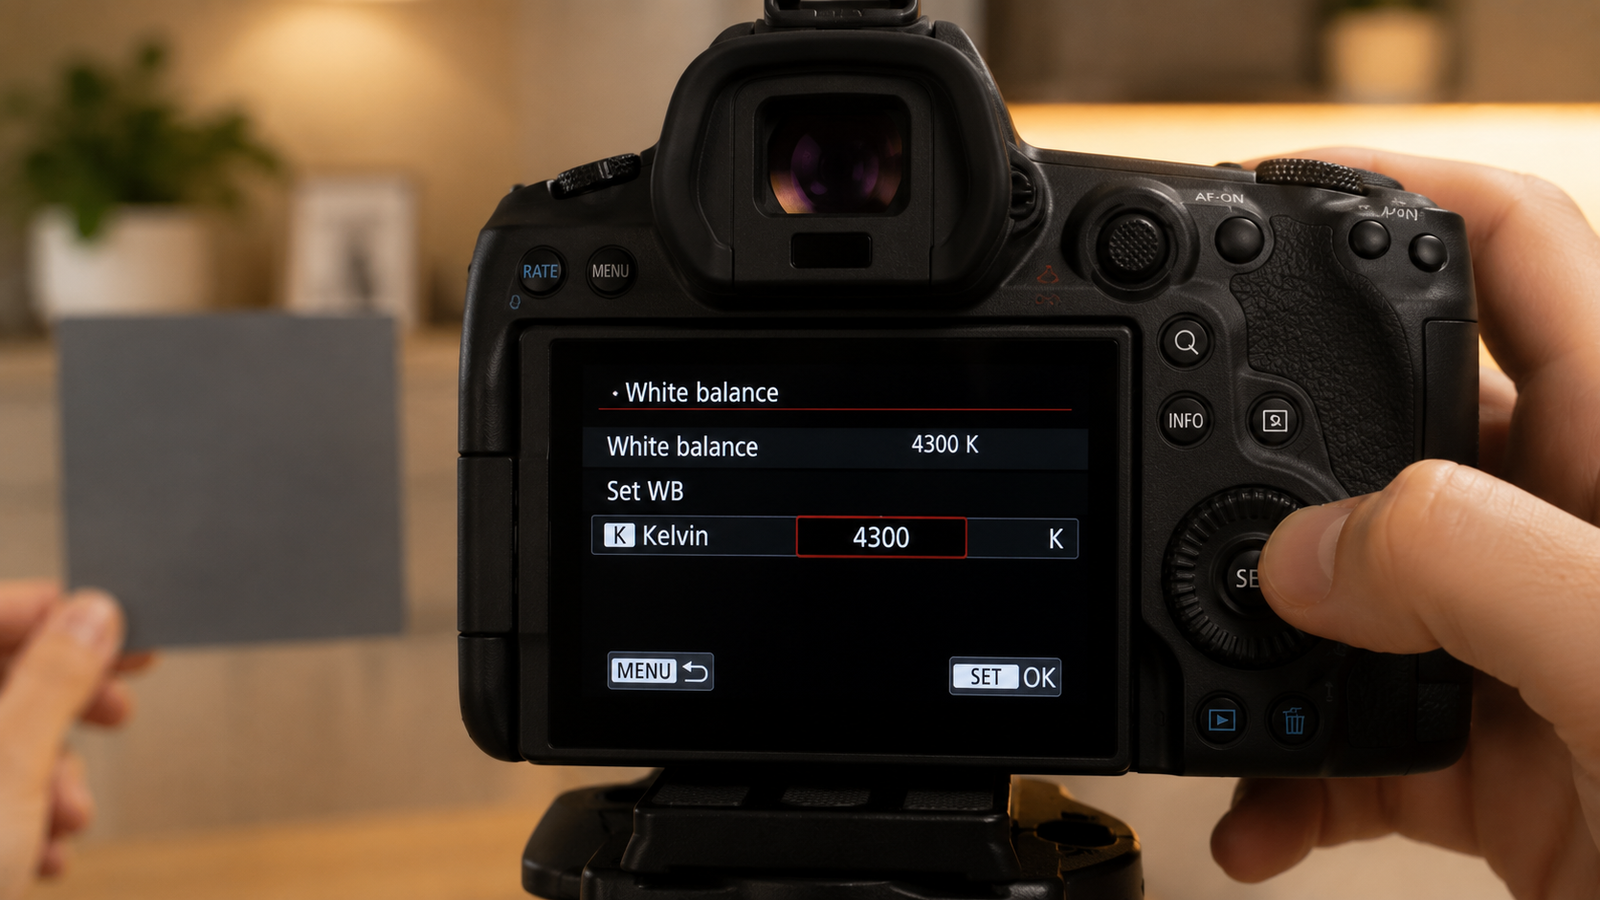
How to Set Custom White Balance From a Kelvin Reading
You've measured your scene and you have a number — say 4,300K. Now what? Turning that Kelvin reading into a correctly white-balanced image is a quick, repeatable process once you know how your camera's white balance modes work. The core idea is simple: set your camera's white balance to the same Kelvin value as the light, and the color cast disappears.
This guide explains how Kelvin white balance works, walks through setting it two ways (entering the value directly or using a gray card), and covers tint and creative offsets. To get the reading in the first place, you can measure your scene's color temperature with your phone.
📲 Get the Kelvin number first
Kelvin Light Scale reads the exact color temperature and tint of your scene, giving you the value to dial straight into your camera's custom white balance.
How Kelvin white balance works
When you set a Kelvin value in your camera's white balance, you're telling the camera what color the light is so it can apply the opposite correction. Tell it the light is 3,200K (warm), and it adds cool blue to balance the warmth back to neutral. The match is direct: the white balance Kelvin you set should equal the measured color temperature of the light. That's why an accurate reading matters — the number you measure is the number you enter. You can read that value off any scene.
The core principle
To neutralize a color cast, set your camera's white balance Kelvin equal to the light's Kelvin. Measure 5,200K, set 5,200K. If you set a higher Kelvin than the light, the image gets warmer; set a lower Kelvin, it gets cooler. That relationship is the key to both correction and creative control, and it starts from a measured number you can capture in seconds.
Method 1: Enter the Kelvin value directly
Most interchangeable-lens cameras (and many phones in pro mode) have a Kelvin or manual white balance mode where you type in the number. The exact menu path varies by brand, but the steps are the same:
- Open the white balance menu and select the Kelvin / manual (often shown as “K”) mode.
- Dial in your measured value — for example 4,300K.
- Check the preview on your screen or electronic viewfinder; neutral tones should look neutral.
- Adjust tint if needed on the green–magenta axis (see below).
- Lock it in and shoot, so every frame stays consistent.
This is the fastest way to apply a reading directly, and it keeps your color identical across the whole shoot. You can grab the value and enter it in moments.
Method 2: Set custom white balance with a gray card
The alternative is a custom (or “preset”) white balance, where the camera measures neutrality itself:
- Place a white or gray card in your subject's position, under the same light.
- Photograph the card filling the frame.
- Select that shot as your custom white balance reference in the camera's menu.
- The camera calculates the correction and applies it.
Both methods get you to the same place. The Kelvin-entry method is faster and lets you offset creatively by a known amount; the gray-card method also captures tint automatically. Many photographers measure the Kelvin with an app for speed and use a card only when tint is tricky.
Don't forget tint
Kelvin only handles the blue–orange axis. Indoor LED and fluorescent lights often add a green or magenta cast that no Kelvin value fixes — you correct that on the separate green–magenta (tint) axis. If your reading reports a tint or Duv value, apply that shift too. Setting Kelvin correctly but ignoring tint is the most common reason a shot still looks slightly “off” after white balancing. Measuring both with the app tells you exactly how much of each to dial in.
💡 Pro tip
Remember the direction: raising the white balance Kelvin warms the image, lowering it cools the image — the opposite of the light's own behavior. If a corrected shot looks a touch too cold, nudge the Kelvin up; too warm, nudge it down.
Creative offsets
You don't always want perfectly neutral. Once you know the accurate value, you can deviate on purpose: set the Kelvin a few hundred above the measured light to add a warm, golden mood, or below it for a cooler, moodier feel. Because you're starting from a measured baseline, your creative choices are deliberate and repeatable rather than accidental. Capture the true value with a quick reading, then offset from there.
Verify the result
After setting white balance, check a neutral element in the frame — a white wall, a gray card, the whites of a subject's eyes. If they look truly neutral, you're set. If there's a residual cast, adjust the Kelvin or tint slightly. Shooting RAW gives you a final safety net to refine afterward, but getting it right in-camera saves editing time and keeps previews honest. You can re-check the light anytime with another reading.
✅ The verdict
Set your camera's white balance Kelvin equal to the light's measured Kelvin to neutralize the cast, correct tint on the green–magenta axis, then offset creatively if you like. A measured number turns white balance from guesswork into a two-step, repeatable setting.
Setting custom white balance from a Kelvin reading is one of the most useful habits in photography and video: measure once, enter the number, and your color is locked and accurate. Start by reading your light — you can measure it now.
From reading to perfect white balance
Kelvin Light Scale reads color temperature, tint, lux, and exposure from your iPhone — the exact value to enter into your camera's custom white balance. Free to start, with pro metrics when you want them.
Frequently asked questions
How do I set custom white balance from a Kelvin reading?
Switch your camera to Kelvin or manual white balance mode and enter the measured color temperature of the light — for example, set 4,300K if the scene measured 4,300K. The camera applies the opposite correction to neutralize the cast.
Should the camera's Kelvin match the light's Kelvin?
Yes, to get neutral color. Setting the camera's white balance to the same Kelvin as the measured light cancels the color cast. Setting a higher value warms the image and a lower value cools it.
What's the difference between Kelvin mode and custom white balance?
Kelvin mode lets you type in a color-temperature value directly, which is fast and precise. Custom white balance has the camera measure neutrality from a white or gray card you photograph. Both reach the same result; the card method also captures tint.
Why does my photo still look off after setting the Kelvin?
Kelvin only corrects the blue–orange axis. If there's a residual green or magenta cast — common under LED and fluorescent light — you also need to adjust the tint on the green–magenta axis to fully clean it up.
Does raising the Kelvin make my photo warmer or cooler?
Raising the white balance Kelvin makes the image warmer, and lowering it makes the image cooler. This is the opposite of the light itself, where higher Kelvin means cooler light.
Do I need a gray card if I have a Kelvin reading?
Not necessarily. If you have an accurate Kelvin reading, you can enter it directly in Kelvin mode. A gray card is helpful when tint is tricky or you prefer the camera to calculate the correction, but it isn't required.
how to set custom white balance from a kelvin readingset kelvin white balancecustom white balance camerakelvin white balance modematch camera kelvin to lightgray card white balancewhite balance tint correctionmanual white balance kelvin