How to Measure White Balance With an iPhone Camera

How to Measure White Balance With an iPhone Camera
Auto white balance is a guess. Sometimes it nails the shot; just as often it leaves your footage too orange under tungsten lights or too blue in shade, and you spend the edit fighting a color cast that never should have been there. The fix is to measure the actual white balance of your scene — its color temperature in Kelvin — and set it deliberately. The good news for shooters on a budget: your iPhone can do that measurement.
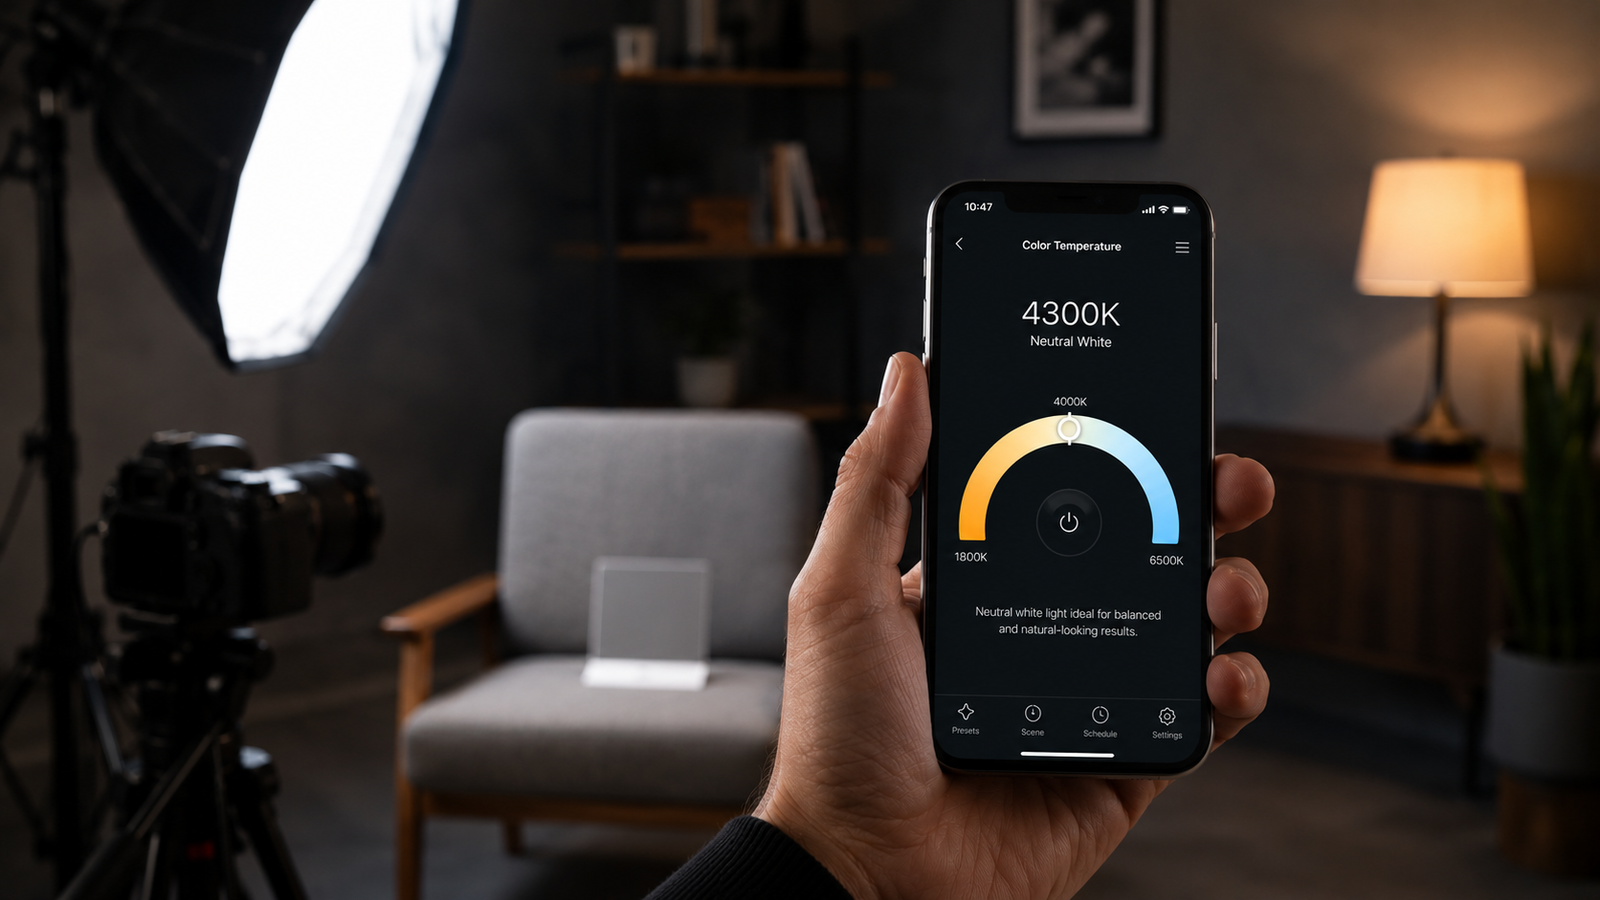
This guide explains how white balance and color temperature relate, why measuring beats trusting auto mode, and exactly how to read a scene's white balance with your iPhone and apply it to your camera or your edit. If you want to follow along, you can read scene color temperature on your iPhone as you go.
📲 Nail white balance before you shoot
Kelvin Light Scale reads the color temperature of any scene in real time, so you can dial the right Kelvin into your camera instead of fixing casts in post.
White balance and color temperature: how they connect
Color temperature, measured in Kelvin, describes the color of the light falling on your subject — warm and orange at low values, cool and blue at high values. White balance is your camera's correction for that light: it shifts the image so that whites actually look white instead of carrying the tint of the source.
The two are directly linked. If you measure the scene at 3,200K, setting your camera's white balance to 3,200K cancels the warm cast and renders neutral tones correctly. That is why measuring color temperature is the first step to perfect white balance — you can read the value on the Kelvin Light Scale page and then match your camera to it.
Why measure white balance instead of using auto?
Auto white balance (AWB) re-evaluates every frame, which causes problems:
- Shifting color: Pan across a room and AWB can drift, so a clip's color changes mid-shot.
- Wrong guesses: A scene dominated by one color — a green field, a red wall — fools AWB into over-correcting.
- Inconsistent clips: Two shots of the same subject can end up with different white balance, making them hard to cut together.
Measuring once and setting a fixed Kelvin value solves all three. Your color stays locked and consistent. You can grab the scene's reading first, then lock your camera to it.
How to measure scene white balance with your iPhone
- Open a color-temperature app and allow camera access.
- Place a white or gray card where your subject will be, lit by the same light.
- Fill the frame with the card — aim at the card, not at the light source.
- Read the Kelvin value once it stabilizes. That number is your scene's white balance.
- Check the tint too if your app reports it — the green–magenta shift (Duv) matters as much as Kelvin under fluorescent or LED light.
This takes only a moment and gives you a concrete target rather than a guess. Once you have it, you can use that exact figure on your camera.
💡 Pro tip
Kelvin alone is not the whole story. Many LED and fluorescent sources have a green or magenta tint that no Kelvin setting fixes. If your reading includes tint or Duv, correct that too — it is the difference between “close” and “clean.”
Applying the reading to your camera
Once you have measured the scene, there are two ways to use the number.
| Method | How to do it | Best for |
|---|---|---|
| Set Kelvin manually | Enter the measured value (e.g. 4300K) into your camera's manual WB | Locked, consistent color across clips |
| Correct in post | Shoot RAW or log, then apply the measured Kelvin in editing | Maximum flexibility, color grading |
Setting it in-camera saves edit time and keeps everything matched on the day. Correcting in post gives you more latitude if you shoot RAW. Either way, the measured number from the app is your starting point.
Common scene temperatures to expect
| Lighting | Approx. Kelvin |
|---|---|
| Candlelight | ~1,800K |
| Tungsten / household bulb | ~3,200K |
| Golden hour | 3,500–4,500K |
| Midday sun | ~5,500K |
| Overcast / shade | 6,500–8,000K |
Handling mixed lighting
The toughest scenes mix sources — a window's daylight on one side, a warm lamp on the other. No single white balance fully neutralizes both. Measuring lets you make an informed choice: read each source, decide which one to balance for (usually your subject's key light), and either gel or move the other source to bring them closer. Measuring beats guessing every time you can check each light individually.
✅ The verdict
For run-and-gun shooting, interviews, product video, and most photography, measuring scene color temperature on your iPhone and setting a fixed white balance gives cleaner, more consistent results than auto mode — without buying a dedicated color meter.
White balance stops being a gamble the moment you measure it. Read the scene, set the number, and let your color stay true from the first frame. You can start measuring your next setup now.
Get white balance right on the day
Kelvin Light Scale reads color temperature, tint, lux, and exposure straight from your iPhone — everything you need to set perfect white balance. Free to start, with pro metrics when you want them.
Frequently asked questions
Can an iPhone measure white balance?
Yes. A color-temperature app reads the live camera feed and reports the scene's color temperature in Kelvin, which is the value you use to set white balance. Measuring off a white or gray card gives the most accurate result.
How do I find the right Kelvin setting for my camera?
Measure the scene's color temperature with an app, then enter that Kelvin number into your camera's manual white balance. For example, a tungsten-lit room around 3,200K means you set the camera to roughly 3,200K to neutralize the warm cast.
Is measuring white balance better than auto white balance?
For consistent results, yes. Auto white balance can drift between frames or misread scenes dominated by one color. Measuring once and locking a fixed Kelvin value keeps color steady across an entire shoot.
What is tint or Duv, and why does it matter?
Tint (the green–magenta axis, sometimes shown as Duv) is a second dimension of color that Kelvin alone does not capture. Many LED and fluorescent lights have a green or magenta cast, so correcting tint as well as Kelvin is what makes whites look truly clean.
Do I need a gray card to measure white balance with my phone?
A neutral white or gray surface gives the most accurate reading because it reflects the light's true color without adding a tint. You can use a dedicated gray card or plain white paper in a pinch.
How accurate is a phone app for white balance compared to a meter?
For most photography and video work it is accurate enough, especially after calibration and with correct technique. A dedicated color meter is more precise and suits high-end film or broadcast, but a phone app covers the vast majority of real shooting situations.
measure white balance with iphone camerawhite balance color temperaturefind kelvin for cameracustom white balance iphonescene color temperature appwhite balance vs automixed lighting white balancemeasure tint duv